


Installation Instructions for Wafer-Type Butterfly Valves
Installation Instructions for Wafer-Type Butterfly Valves
Installation Precautions
Before installation, start to clean the inner surface of the pipeline with air nozzles to remove foreign objects and ensure the pipeline is clean.
Carefully check whether the performance indicators of the valve used meet the requirements (temperature, pressure).
Check the valve sealing surface, flow channel for debris and remove them in time.
Install the unpacked valve in a timely manner. Do not tighten any loose screws or nuts of the valve before installation.
Special gaskets must be used for the flanges of wafer-type butterfly valves.
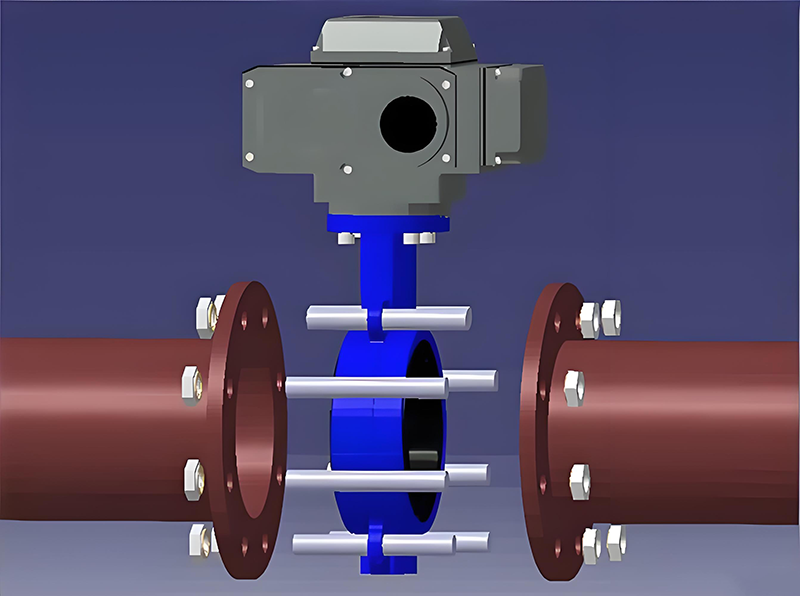
Electric valves can be installed at any angle in the pipeline. For the convenience of maintenance, it is recommended not to install them upside down.
When installing the valve flanges, ensure that the rubber seals on the surface and the screws are tightened evenly, and the sealing surface must be fully bonded. If the screw tightening force is uneven, the rubber will bulge and get stuck, or leakage will occur at the valve stem of the disc.
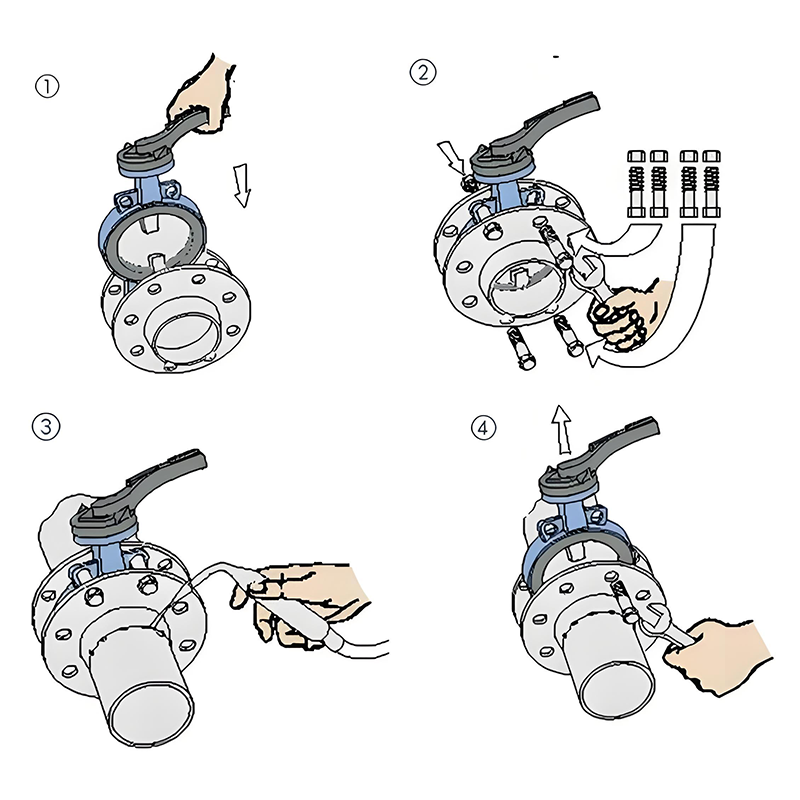
Installation Steps for Wafer-Type Butterfly Valves
The correct installation of wafer-type butterfly valves is related to the horizontal placement of the valve, sealing performance, no leakage and other issues, including the working guarantee of operating conditions. Users should understand the installation process.
As shown in the figure, pre-install the valve between the two flanges, and pay attention to aligning the bolt holes.
Gently insert four pairs of bolts and nuts into the flange holes, and tighten the nuts slightly to correct the flatness of the flange surfaces.
Fix the flanges to the pipeline by spot welding.
Remove the valve.
Fully weld and fix the flanges to the pipeline.
Wait for the welds to cool before installing the valve. To ensure that there is sufficient space at the valve flanges to prevent damage to the valve, and ensure that the valve disc has a certain degree of opening.
Correct the valve position and tighten the four pairs of bolts (note not to over-tighten).
Open the valve to ensure that the valve disc can be opened and closed smoothly, and leave the valve disc slightly open.
Tighten the nuts evenly horizontally.
Confirm again that the valve can be opened and closed normally. Note: Ensure that the valve disc does not touch the pipeline.
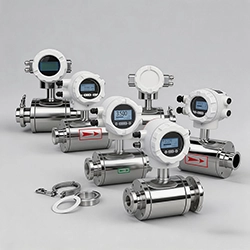 What is a Flowmeter?
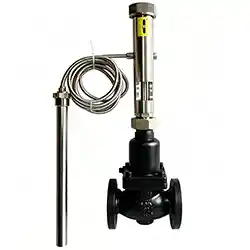
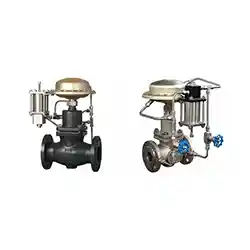 Difference Between Pilot Operated and Direct-Acting Self-operated Control Valve
 Classification of Self-Operated Control Valves
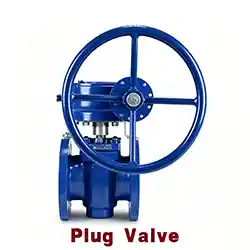 What is a Plug Valve?